|
When I awoke from my customary 4 hours of sleep this morning I found that Alan was still having trouble installing a Sanyo 20EZ flyback in his monitor. It's been some 20 years since I laid eyes on a 20EZ & replacement flybacks were not even available at that time. Most of what I remember about that chassis was that it was a nightmare to work on, but had one of the better pics of the day. Now these old eyes & now keyboard soft hands aren't much for doing the actual work any longer, but I figured I'd give it a try for old times sake. I decided to call the local guys looking for a 20EZ monitor to experiment with & got lucky on the first call... well, if you call fifty bucks lucky! I jokingly asked him what game came with it & without skipping a beat he says it's just the monitor & I think the flyback is shot. Well... lucky me... that's what I want to attempt to replace :-) About forty-five minutes later I was the proud owner of a Sanyo 20EZ dead monitor. Actually, the screen looks to be in pretty good condition & it looks relatively clean in the back. 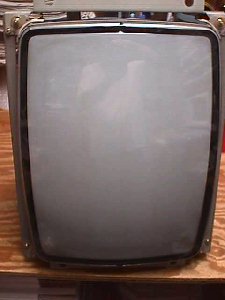 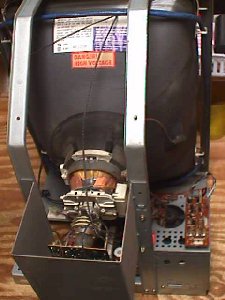 I'm thinking this baby has been in someone's home & not on the street for most of it's life. No bugs, no chewed up wiring, no hacks & no 2 inches of soot or nicotine on the back of the pic tube. 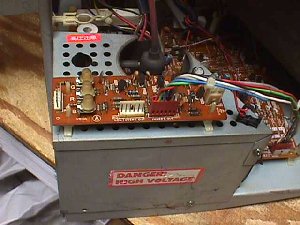 Let's take a look at that flyback hiding under this cage. Just four screws & it's gone! 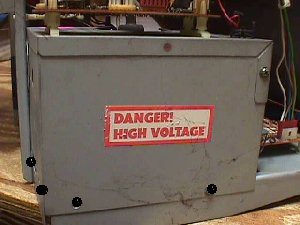 Of course, you have to unplug the video inversion bd & it's 12V feed line to set it entirely free. 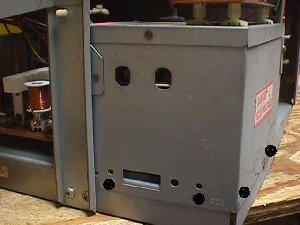 K... now it's gone! 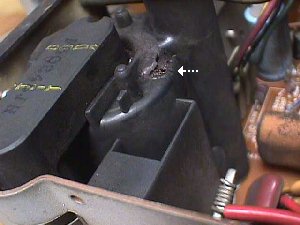 Hmmm... it appears his diagnosis was correct... nice hole burned in the top of the flyback allowing all that HV to escape into the atmosphere. Let me inject a little note here for any flyback that you suspect is leaking but that you can't see. Most times you can detect a leak by the pic flickering or the raster just dimming for a second due to the HV lowering as this occurs, but another way is by smell. Corona discharge produces ozone which has an indescribable oder that you will recognize after your first visit with it.... much like the selenium rectifier smell of rotten eggs when they went belly up. 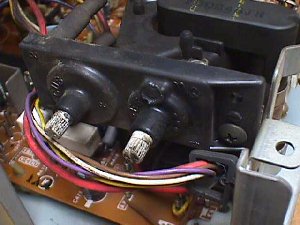 K... like the G07 & others this flyback uses a separate focus/screen block which you will have to reuse with the replacement flyback. 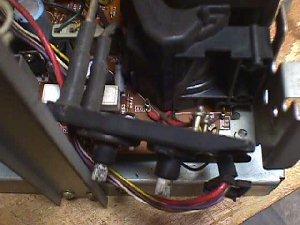 One screw attaches this block to the actual OEM flyback, so I can see other mounting arrangements will have to be made. 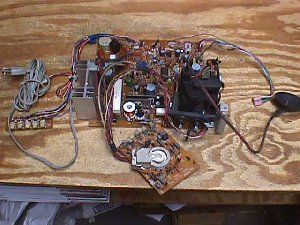 I noticed that this chassis does not have the audio amp installed, so it must have been used for JAMMA games or possibly a single classic game with it's own amp. 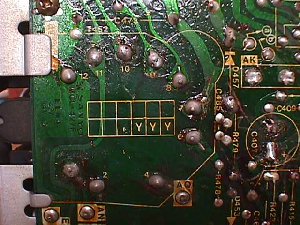 Dull grayish solder joints like these should have new fresh solder applied to them before trying to unsolder them, so that the solder sucker can clean the terminals free very easily. 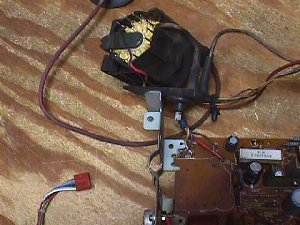 With the OEM flyback free from it's mounting position you can see where they hid the screen control hook up... underneath & directly to the winding pins.  Heat the solder on these one at a time & slide them off making sure to note where they are attached. 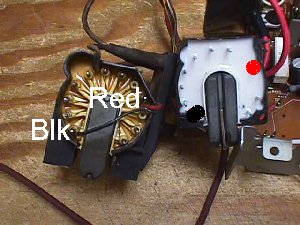 It's best to just clean the wires of solder, so that they slip right onto the new flyback's pins. Slide them all the way to the bottom & solder them being careful not to put any solder on the lower part of the pins... they still have to go cleanly through the PC mounting holes. 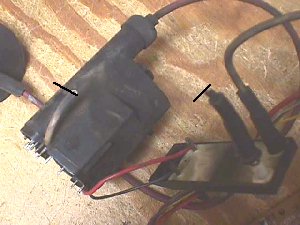 Screen hooked up & now for the focus control. Cut the old focus wire about in the middle & remove the half that plugs onto the block. Remove the boot & place it on the new flyback's focus wire right away, so that you don't forget. 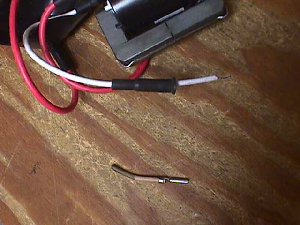 Next unsolder the pin that the boot exposed. A small screwdriver can be inserted into the space on the pin's insulation saddle & twisted to open the crimp releasing the pin. 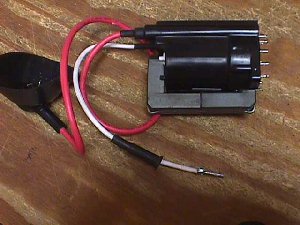 Then put it on the new focus wire, crimp it to the insulation & solder it in place. Cool for a minute & then slide the boot on & attach it to the block. 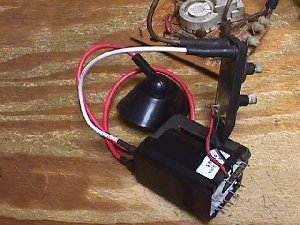 Now everything is hooked up & it's ready for reinstall. 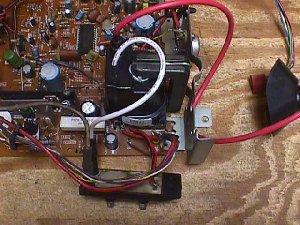 What to do for remounting the focus block now that the old perch is gone. 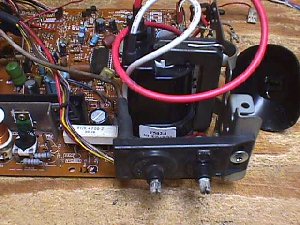 The simplest way that I see is to just drill a hole in the frame wall & attach it with a single screw again. 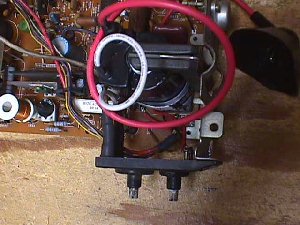 My preference at this juncture would be to omit the cage, but if you wanted the cage back the simplest way would be to cut out a rectangular piece of the back allowing the block to come through. I think either way is much more desirable then the guessing holes Sanyo allowed for making the adjustments in the first place. 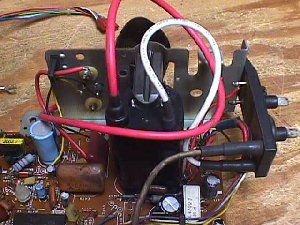 My eight hours are up for this project & I have to return to your emails, but all that's left to do here is put it back on the frame in reverse order of your removal & you're good to go. Happy Gaming... |